Configure Webhooks
Webhooks in ART can be configured through the ART Dashboard. Follow these steps to set up and manage your webhooks:
-
Select the Webhooks side-menu item.
-
Click on the Add button in top right corner.
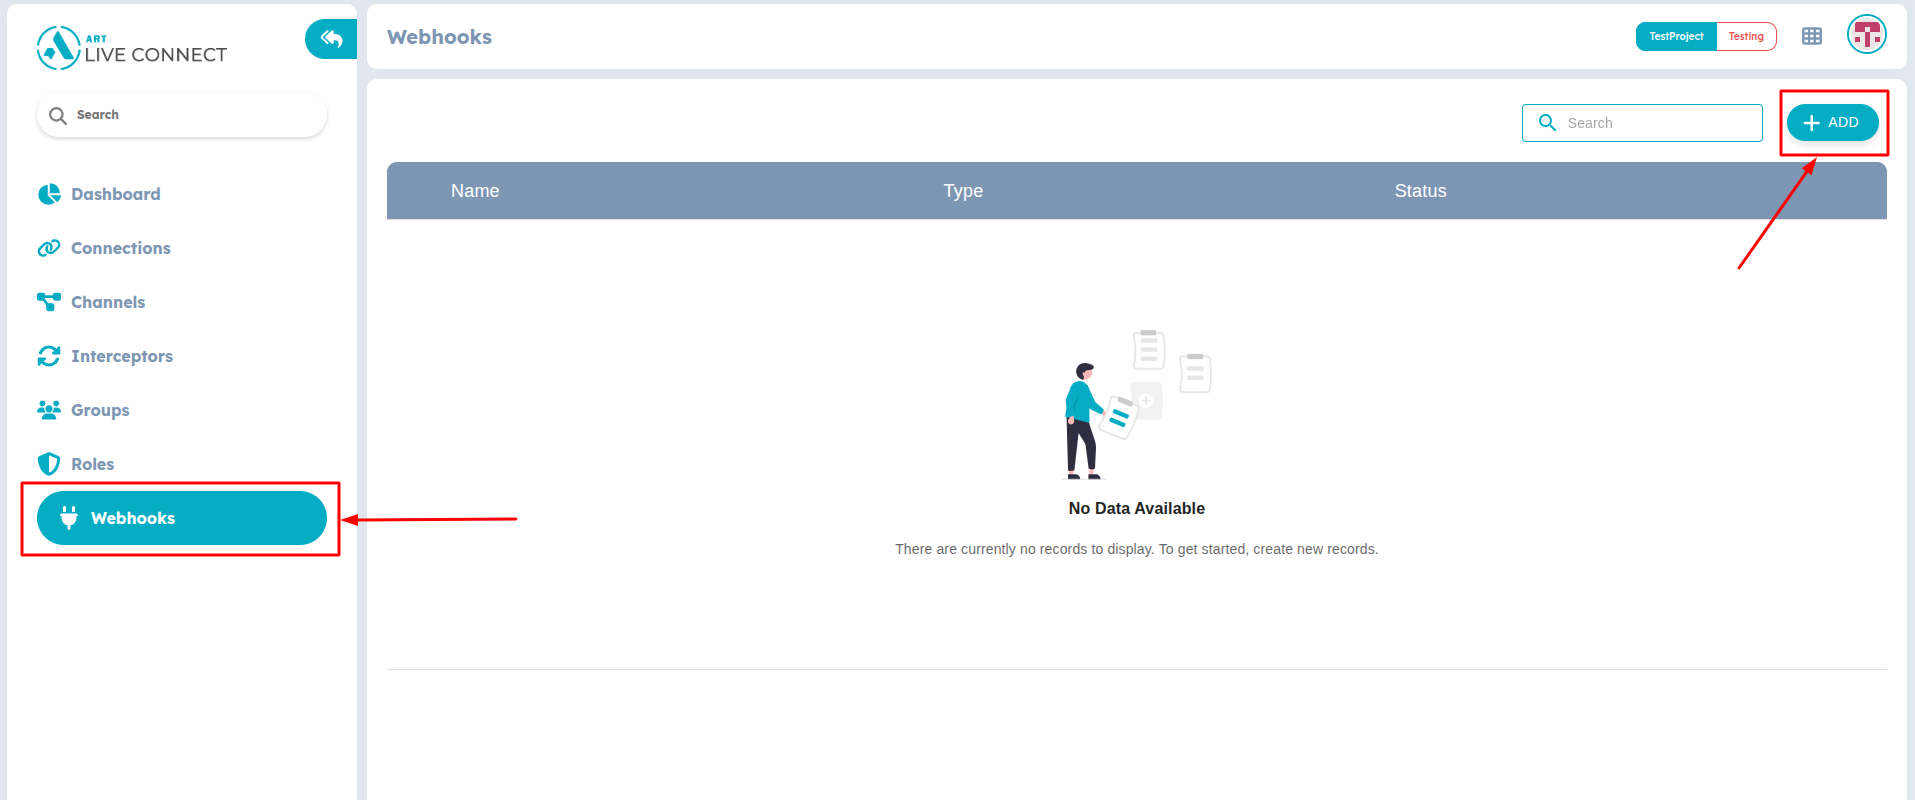
Figure 1: Create new Webhook
-
In the dialog enter the Name for your webhook.
-
Enter destination URL where ART will send the event data.
-
You can use headers to include authentication tokens, API keys, or custom metadata required by your receiving system.
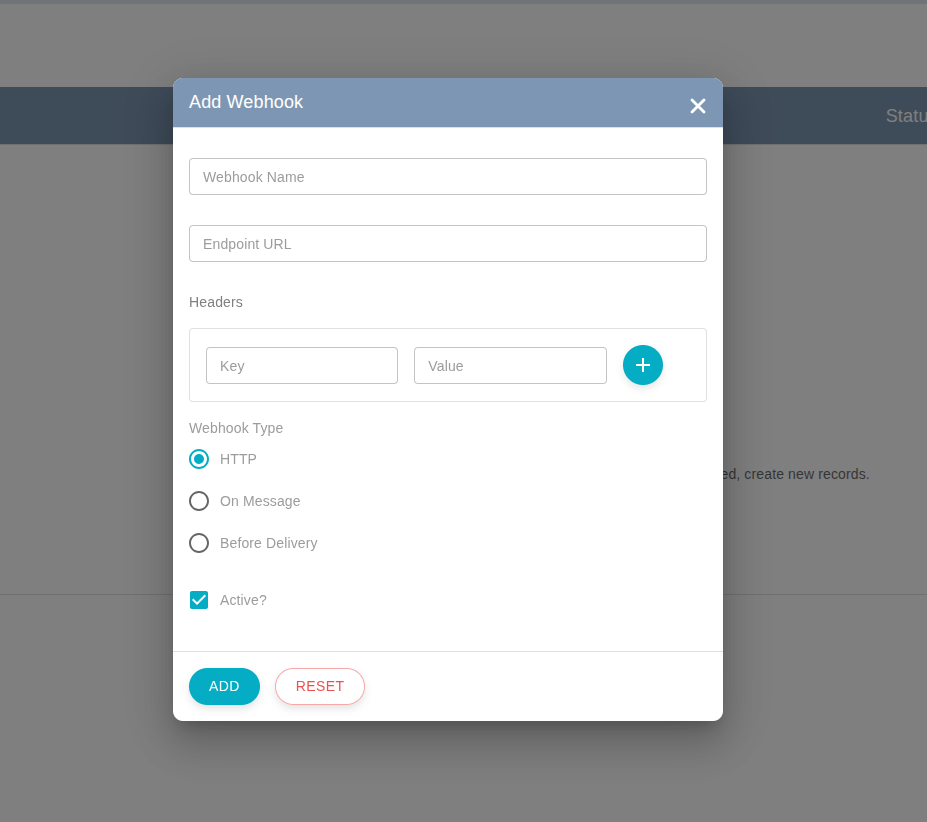
Figure 2: Add Webhook
-
Select when and how the webhook should be triggered. ART supports multiple types:
- HTTP - Triggers a standard webhook request after the event occurs.
- On Message - Invoked specifically when a message is sent or received on a channel. Useful for message-based integrations.
- Before Delivery - Triggered before message delivery, allowing your endpoint to validate, transform, or block the message before it reaches the recipient.
-
Set the activity status for webhook.
-
Click on Add button to save the configuration.